FORCES
The Exhibition
Works
Uncanny State
Uncanny State Exhibition
Aether Dancer - Uncanny State series
Air Dancer - Uncanny State series
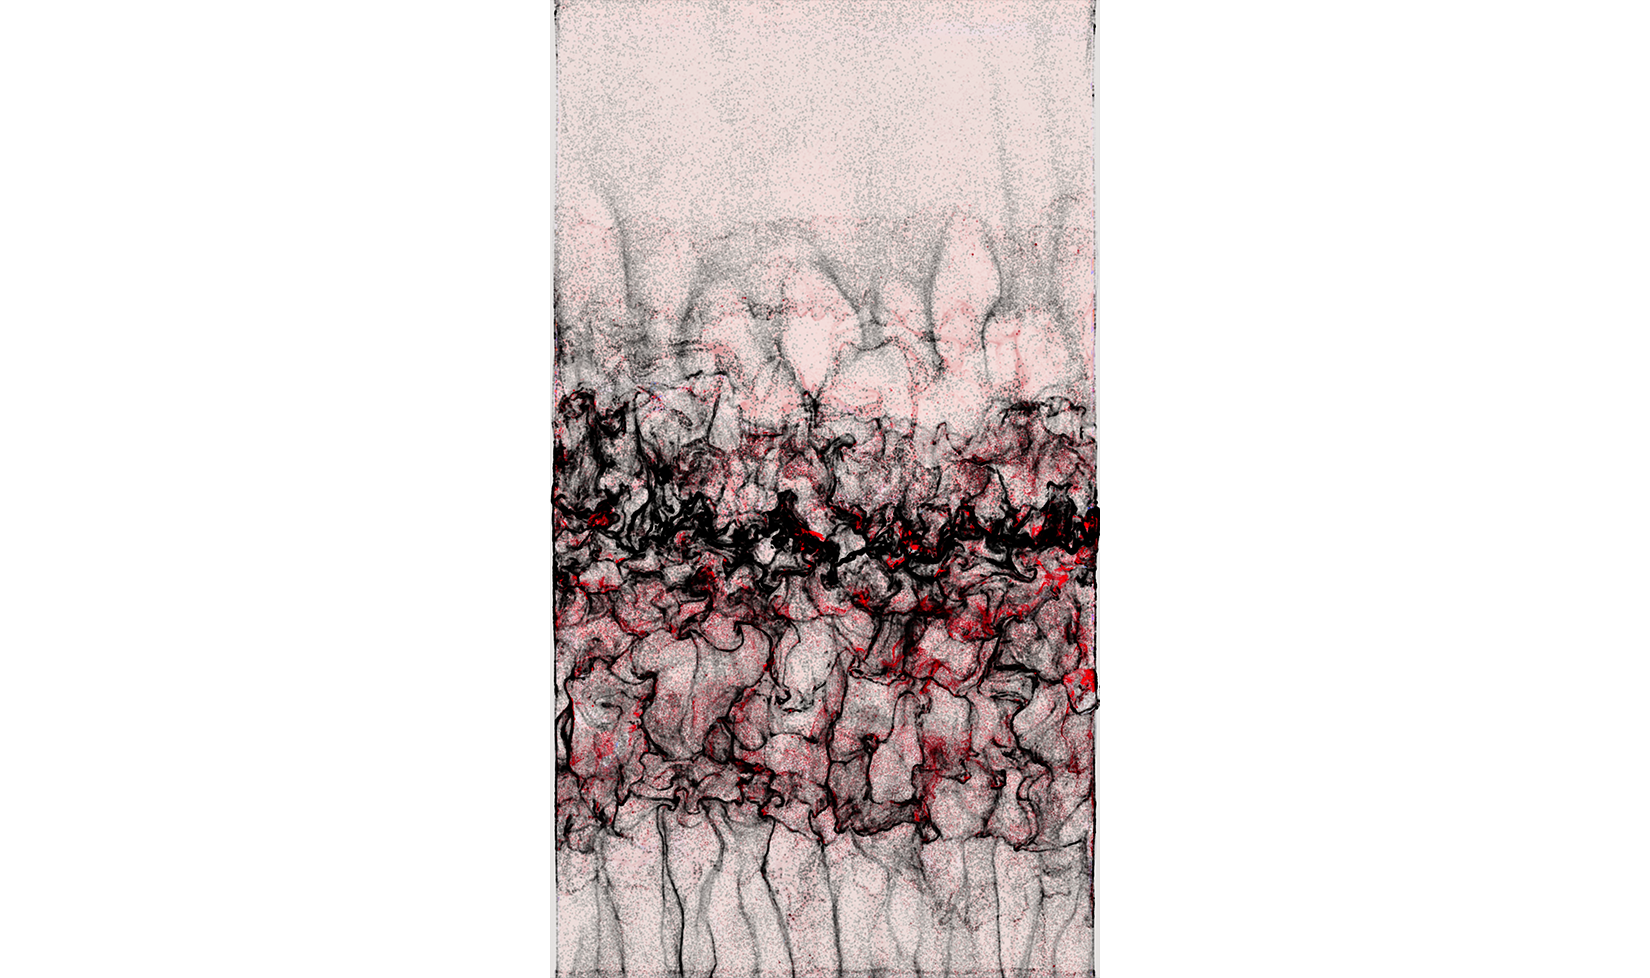
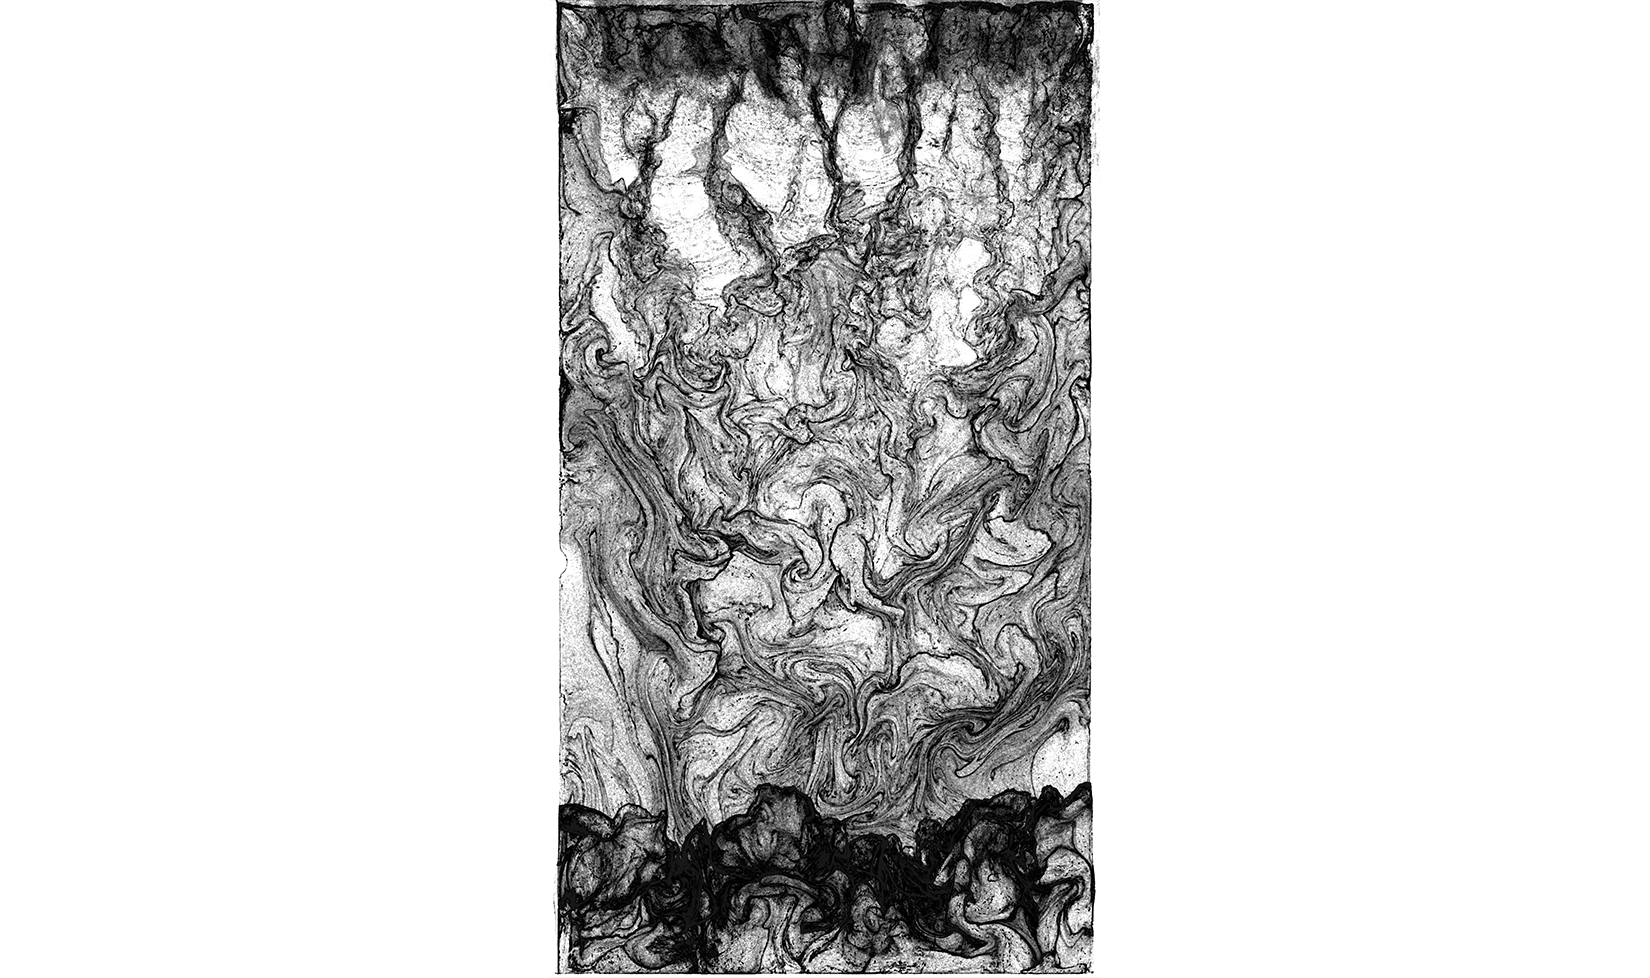
Fire Dancer - Uncanny State series
Nitrogen Dancer - Uncanny State series
Water Dancer - Uncanny State series
Oxygen Dancer - Uncanny State series
The Exhibition
#Laugh
Cleansing
Water Dancer
WaterDancer Live Performance
Waterdancer 2015-16
Sublime Moments
Waterfall
Break Wall
Piece of Ocean
Collision
Sphere Pop
Big Smoke
Nuclear Explosion
Street Blast
Sublime Moments Exhibitions
Exhibitions
About
Texts
Writings
Press
Videos
Awards, Jury
Patents
Academic papers
Contact
Menu
Eyal Gever
FORCES
The Exhibition
Works
Uncanny State
Uncanny State Exhibition
Aether Dancer - Uncanny State series
Air Dancer - Uncanny State series
Fire Dancer - Uncanny State series
Nitrogen Dancer - Uncanny State series
Water Dancer - Uncanny State series
Oxygen Dancer - Uncanny State series
The Exhibition
#Laugh
Cleansing
Water Dancer
WaterDancer Live Performance
Waterdancer 2015-16
Sublime Moments
Waterfall
Break Wall
Piece of Ocean
Collision
Sphere Pop
Big Smoke
Nuclear Explosion
Street Blast
Sublime Moments Exhibitions
Exhibitions
About
Texts
Writings
Press
Videos
Awards, Jury
Patents
Academic papers
Contact
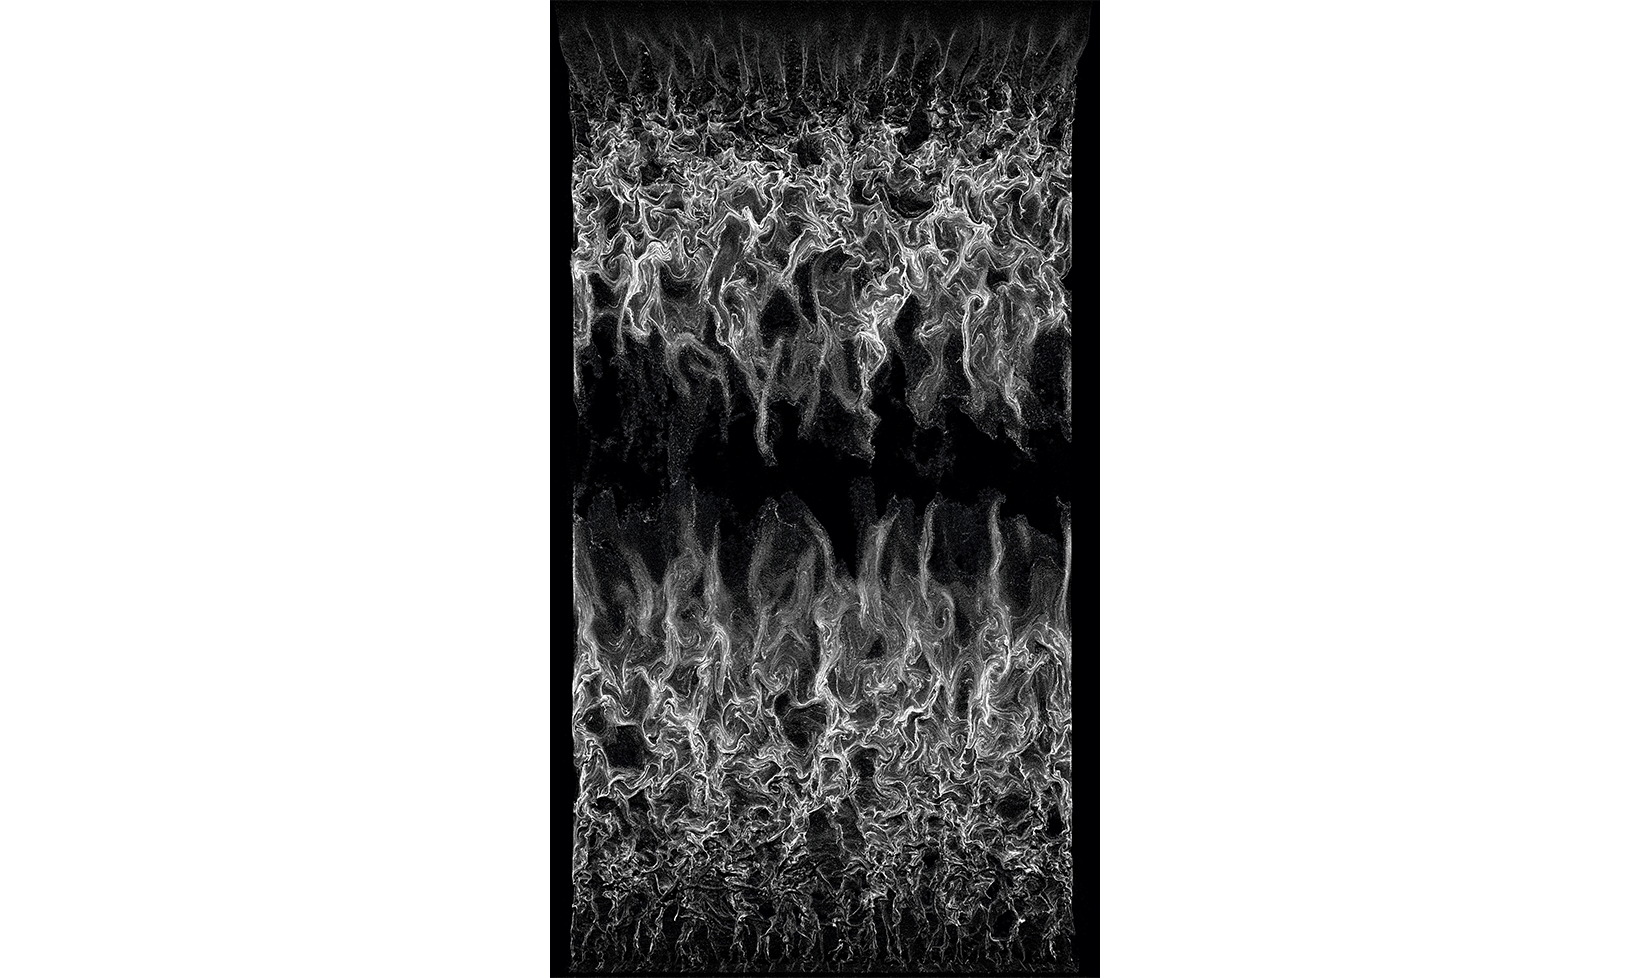
Quadruple Rift I (after Serra) White on Black by Eyal Gever, 2025, triptych fluid simulation
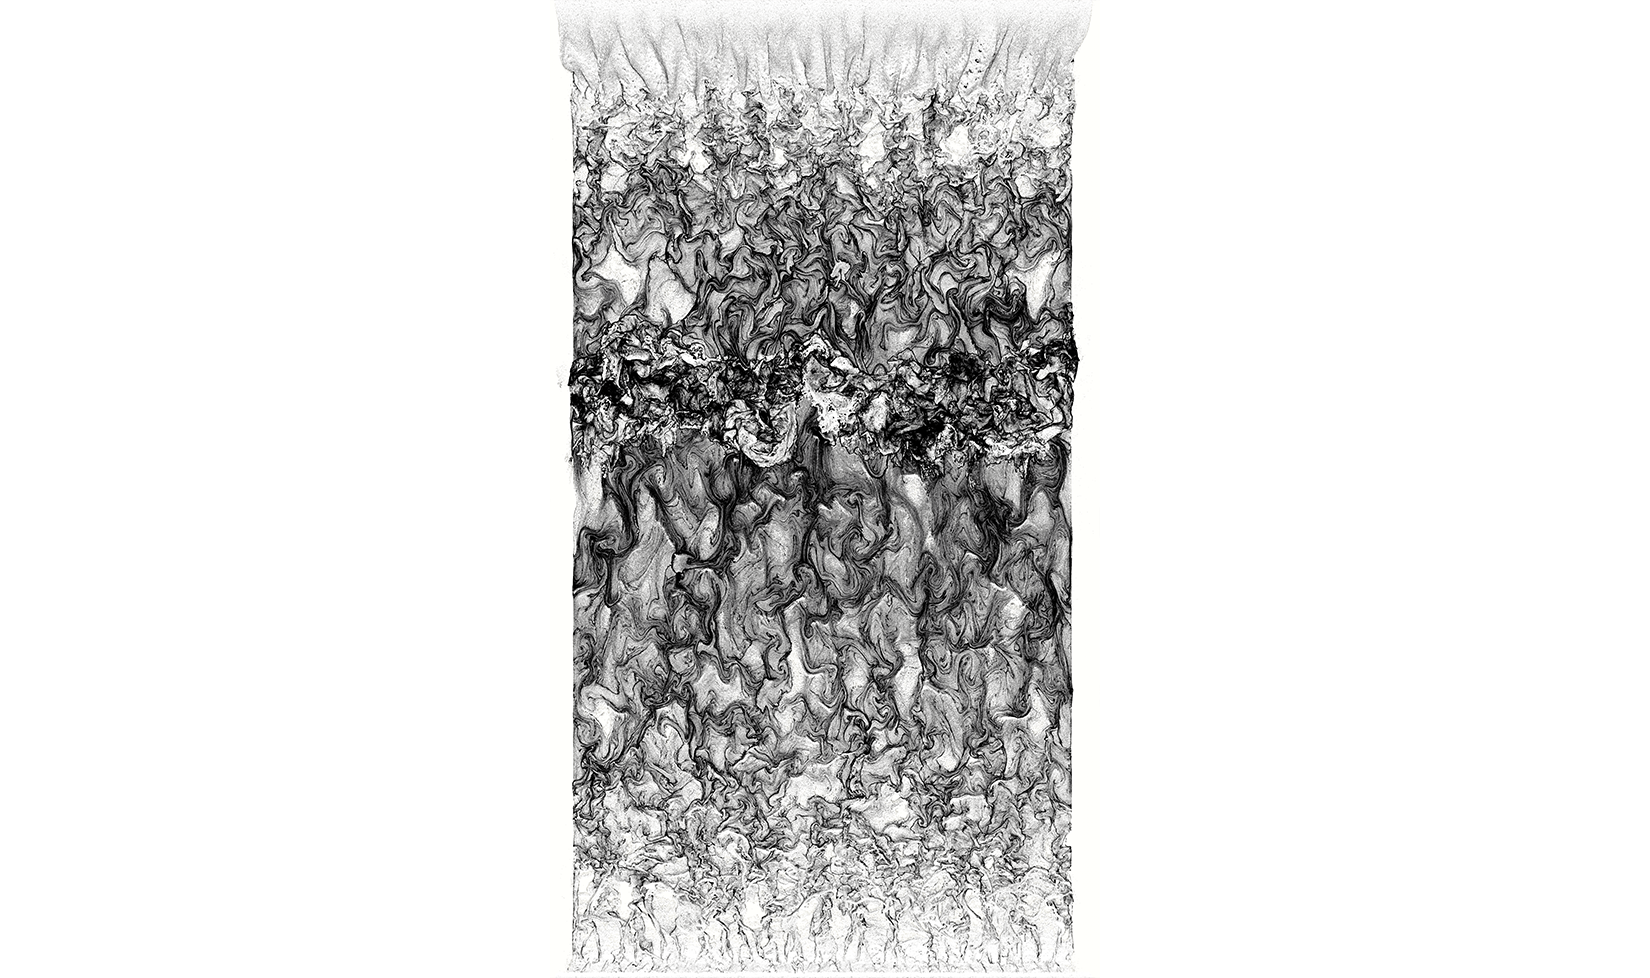
Quadruple Rift I (after Serra) Black on White by Eyal Gever, 2025, triptych fluid simulation
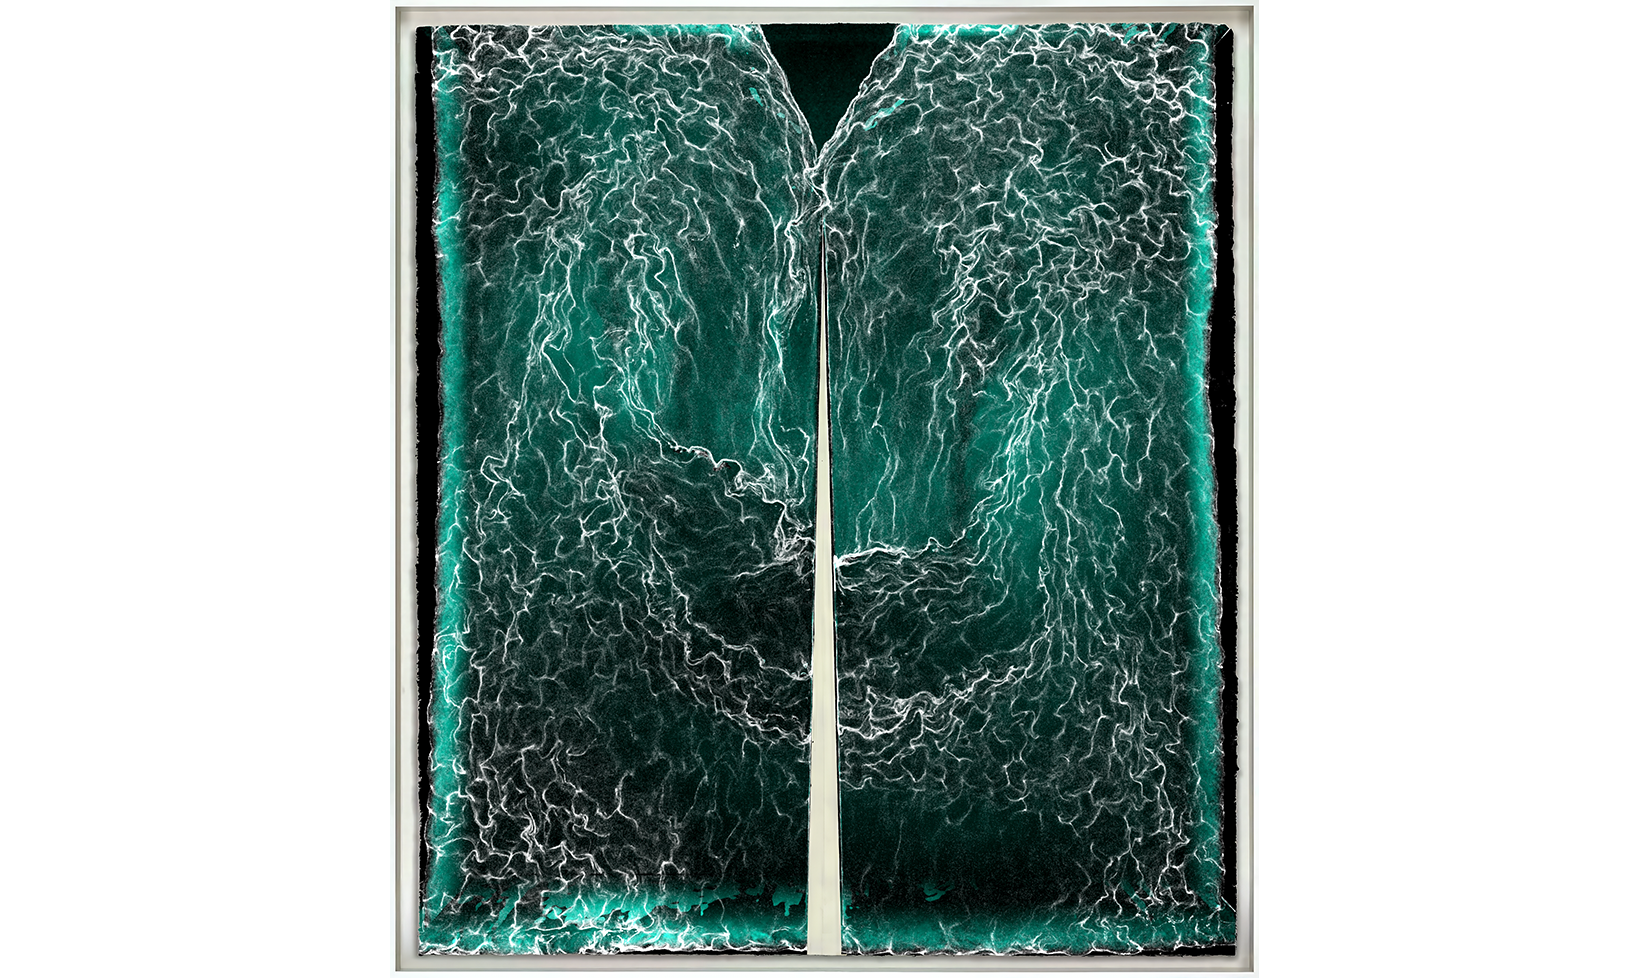
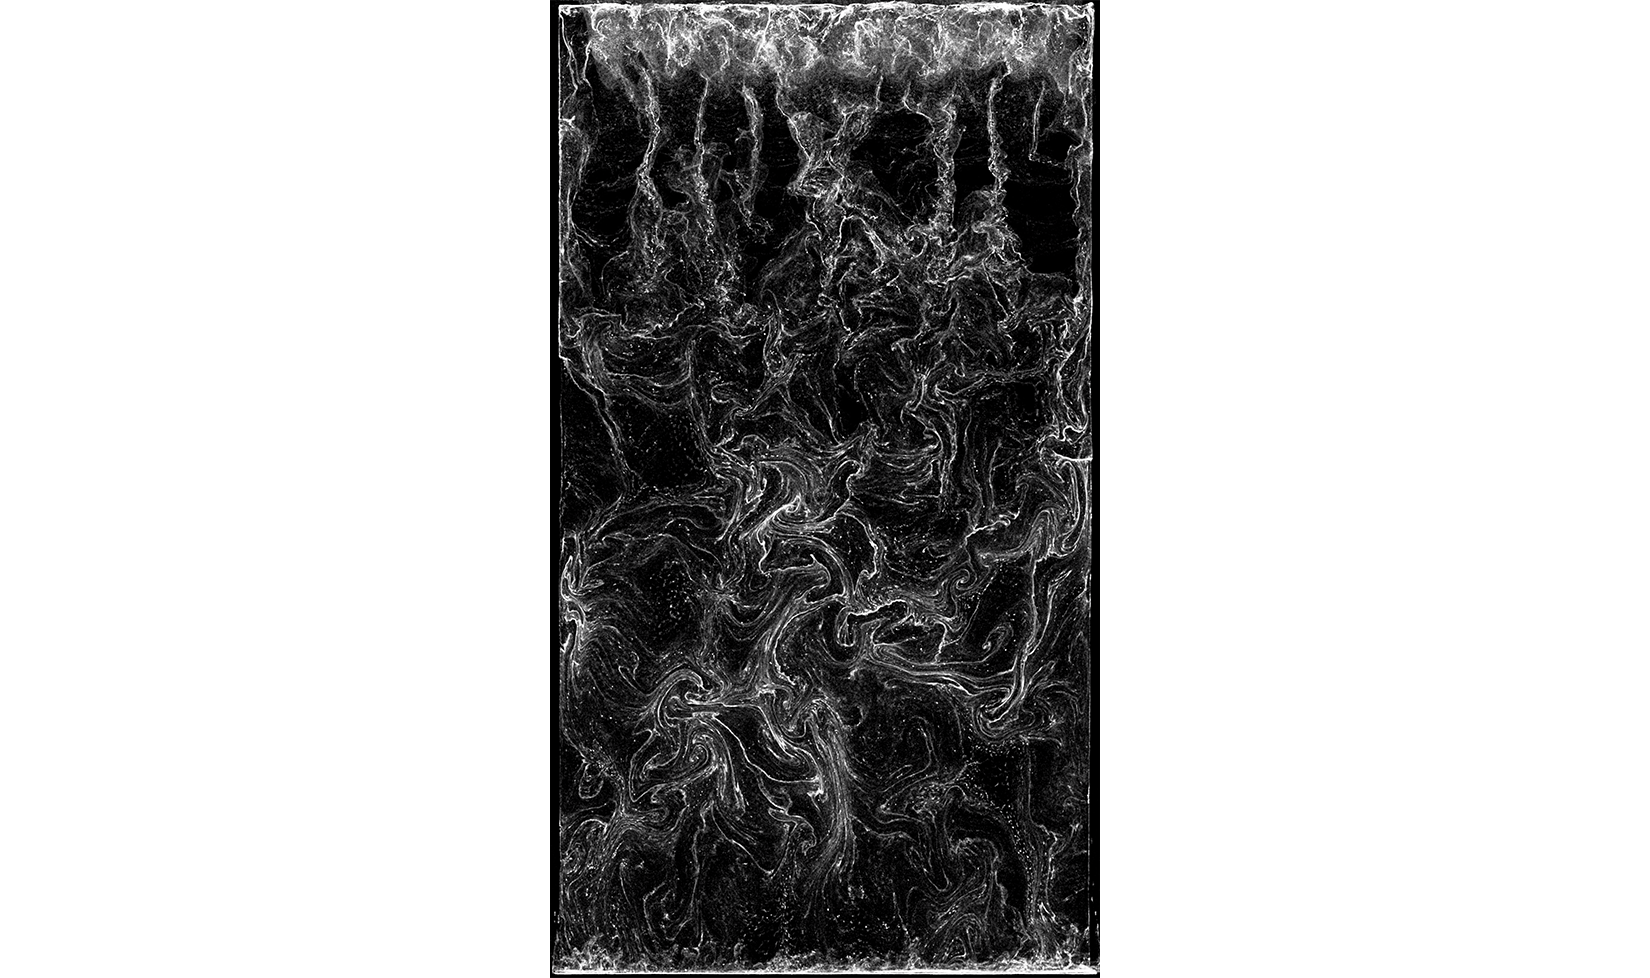
Double Rift I (after Serra) White on Black by Eyal Gever, 2025, triptych fluid simulation
Double Rift I (after Serra) Black on White by Eyal Gever, 2025, triptych fluid simulation
Circular River I (after Serra) White on Black by Eyal Gever, 2026, triptych fluid simulation
Circular River I (after Serra) Black on White
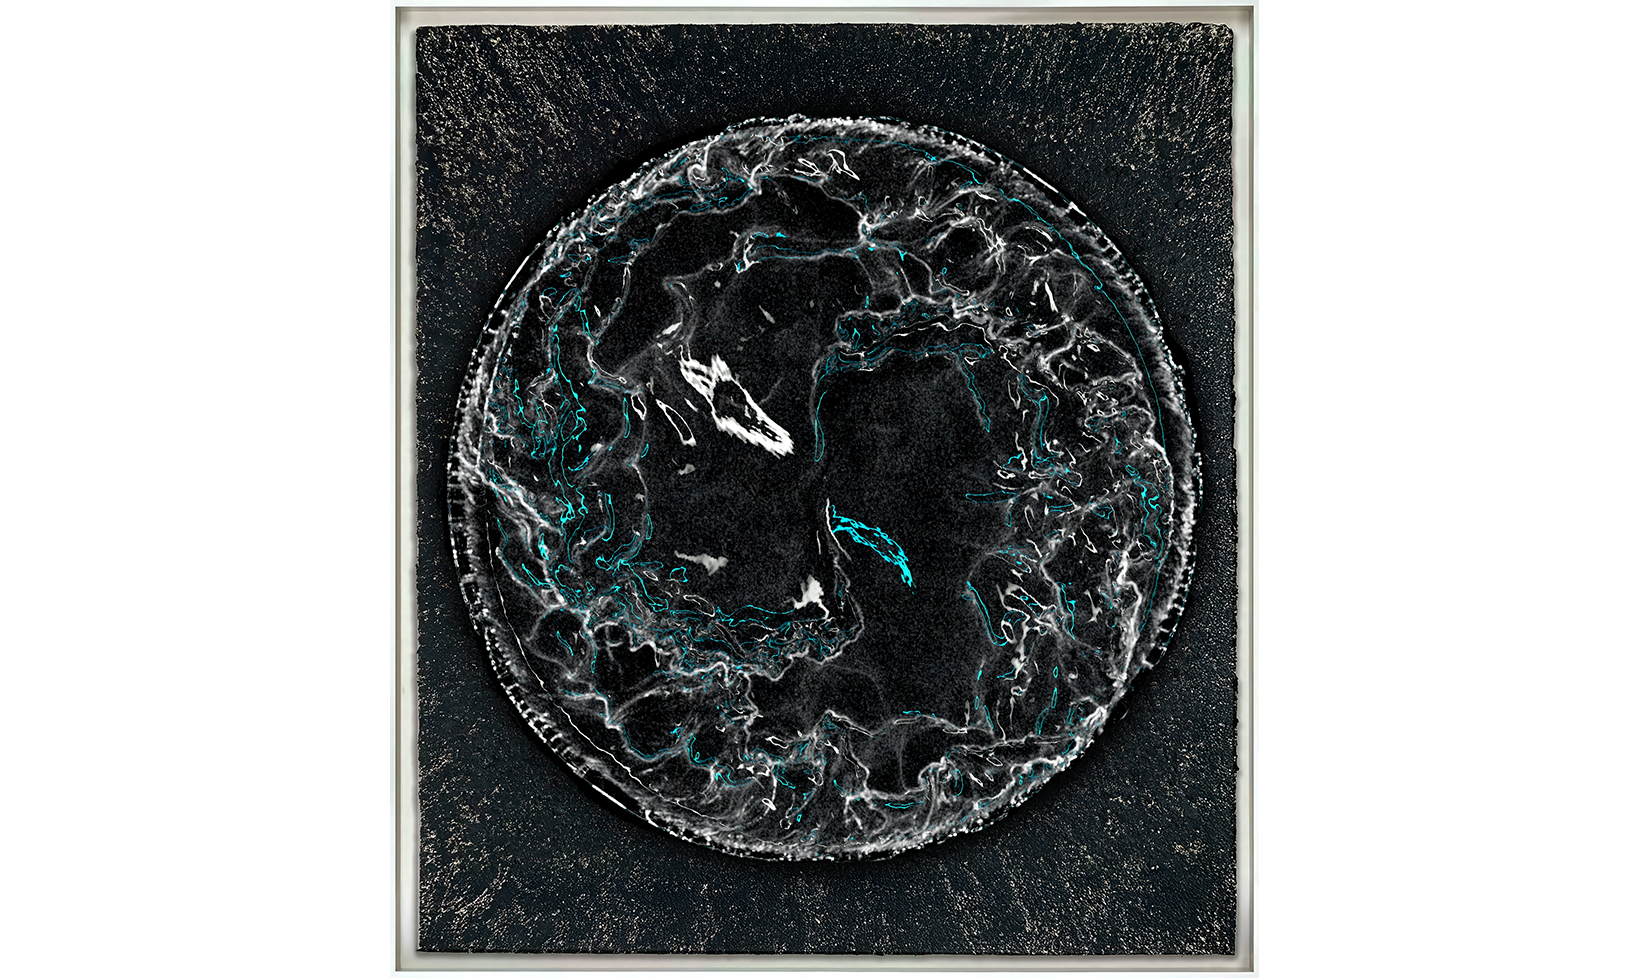
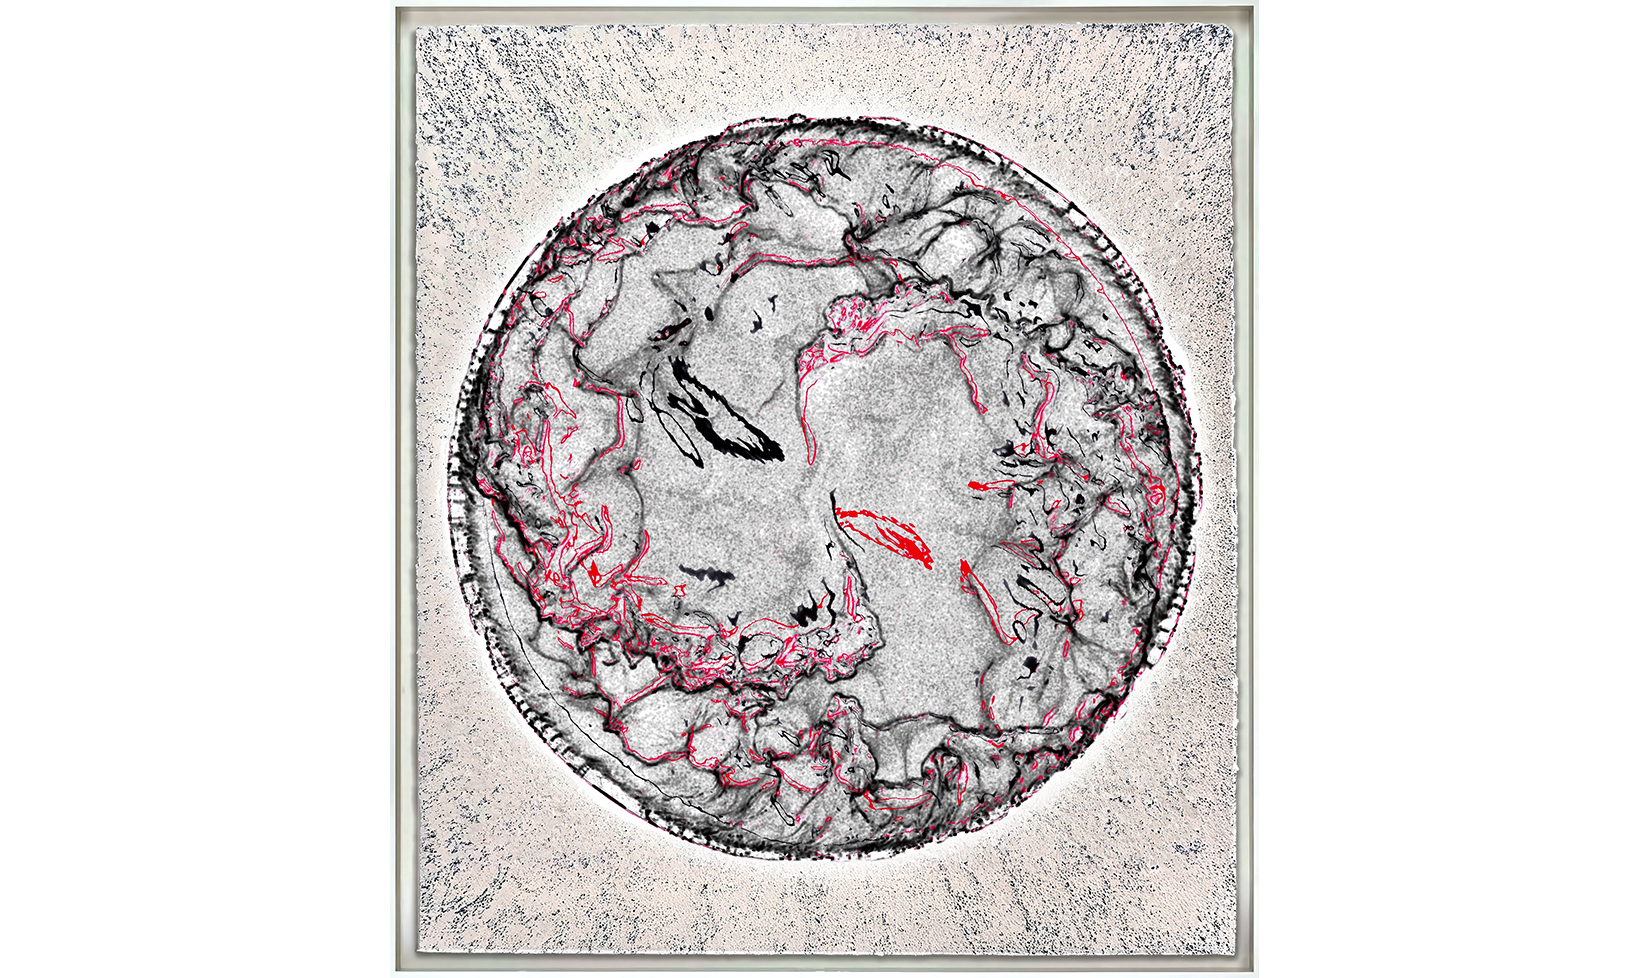
Circular River II (after Serra) White on Black by Eyal Gever, 2026, triptych fluid simulation
Circular River II (after Serra) Black on White by Eyal Gever, 2026, triptych fluid simulation
Path and Edges I (after Serra) White on Black by Eyal Gever, 2025, triptych fluid simulation
Rift I (after Serra) White on Black by Eyal Gever, 2026, LED Wall fluid simulation
Rift I (after Serra) Black on White by Eyal Gever, 2026, LED Wall fluid simulation
Path and Edges I (after Serra) Black on White by Eyal Gever, 2025, triptych fluid simulation
Whirlpool I (after Serra) White on Black by Eyal Gever, 2026, LED Wall fluid simulation
Whirlpool I (after Serra) Black on White by Eyal Gever, 2026, LED Wall fluid simulation
Whirlpool II (after Serra) White on Black by Eyal Gever, 2026, LED Wall fluid simulation
Whirlpool II (after Serra) Black on White by Eyal Gever, 2026, LED Wall fluid simulation
Whirlpool III (after Serra) White on Black by Eyal Gever, 2026, LED Wall fluid simulation
Whirlpool III (after Serra) Black on White by Eyal Gever, 2026, LED Wall fluid simulation
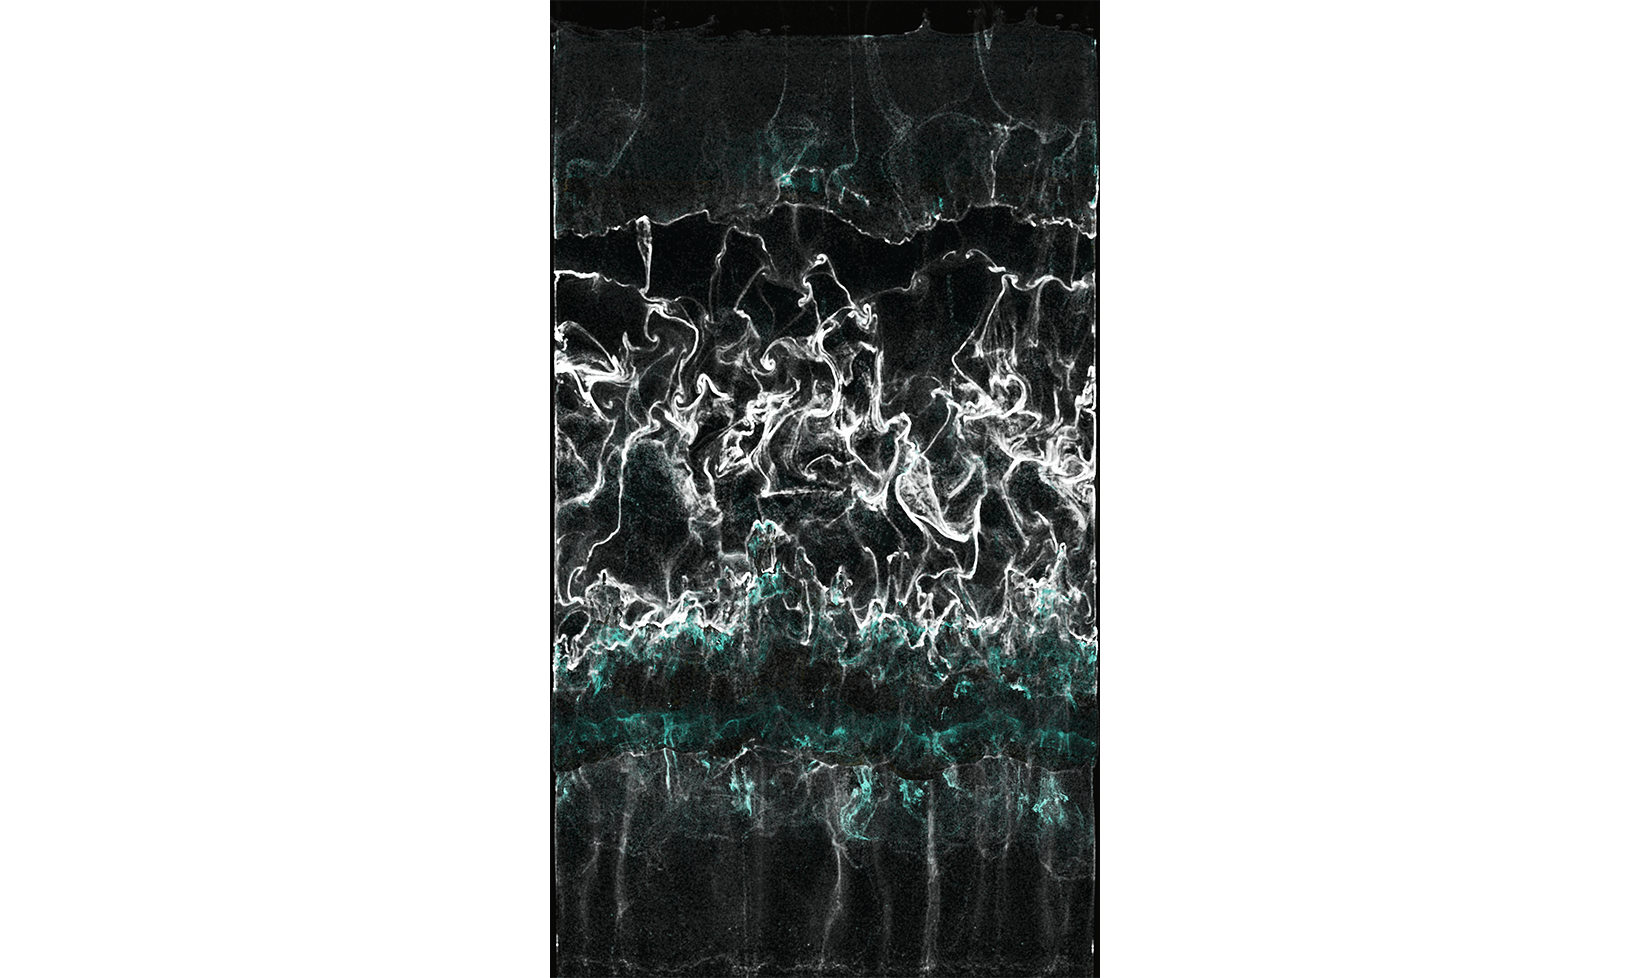
Waves I White on Black by Eyal Gever, 2026, framed 98-inch LED vertical fluid simulation
Waves I Black on White by Eyal Gever, 2026, framed 98-inch LED vertical fluid simulation
Streams Collide I White on Black by Eyal Gever, 2025, framed 98-inch LED fluid simulation
Streams Collide I Black on White by Eyal Gever, 2025, framed 98-inch LED fluid simulation
Dripping I White on Black by Eyal Gever, 2026, framed 98-inch LED vertical fluid simulation
Dripping I Black on White by Eyal Gever, 2026, framed 98-inch LED vertical fluid simulation
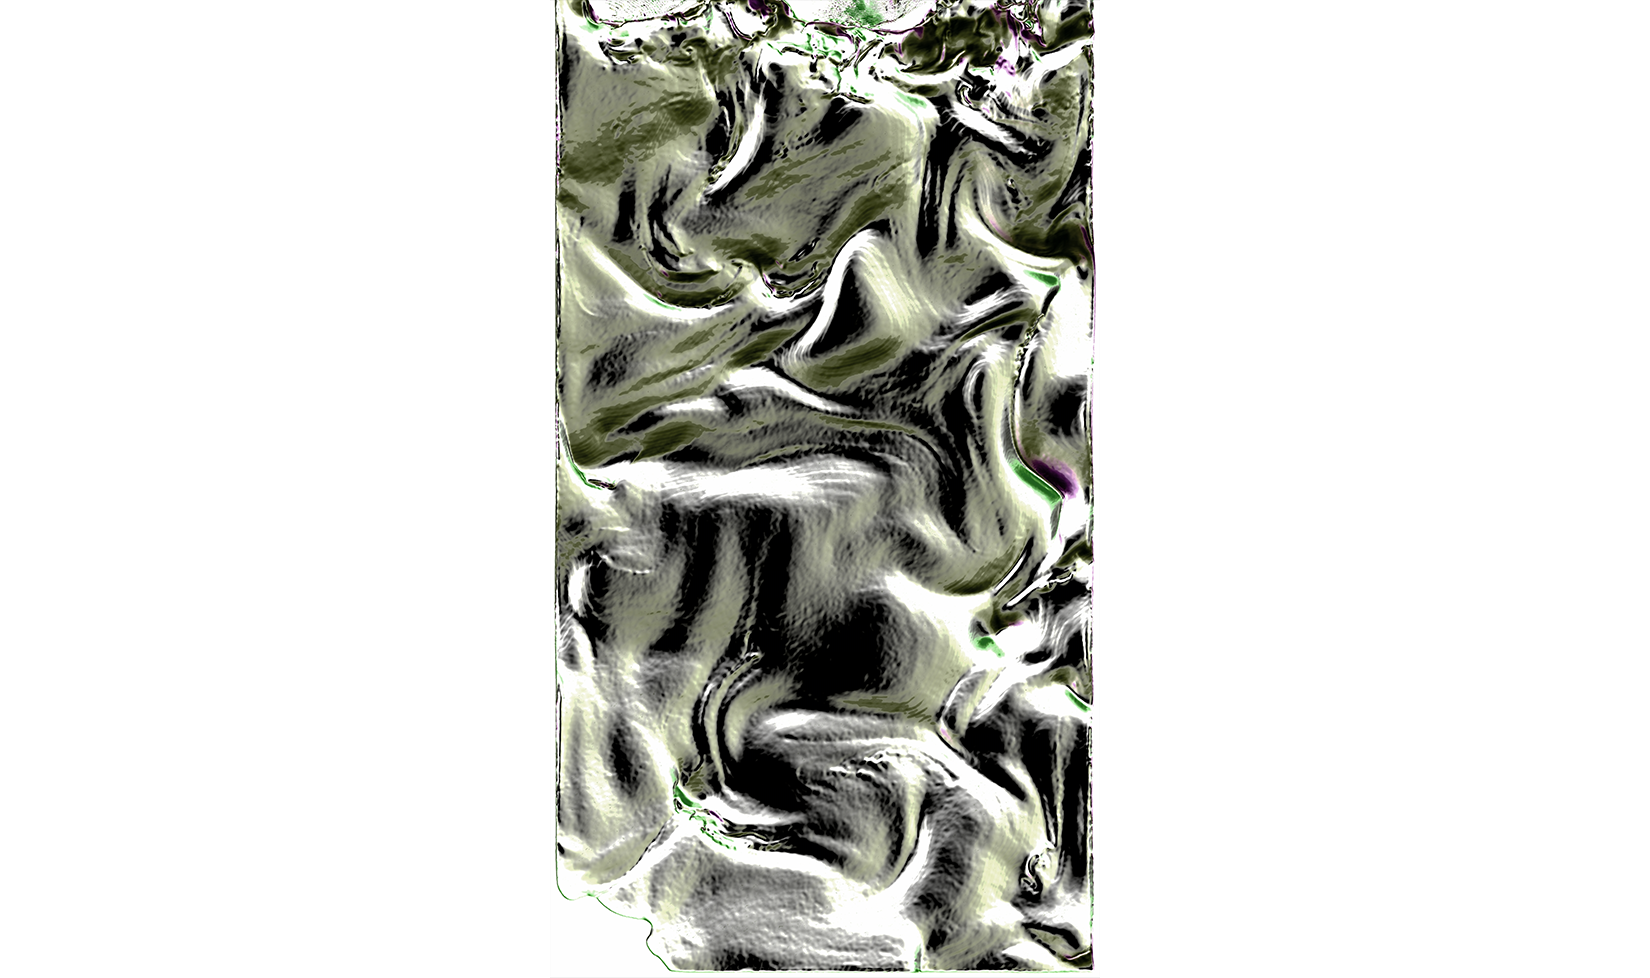
Dripping II Chrome White on Black by Eyal Gever, 2026, framed 98-inch LED fluid simulation
Dripping II Chrome Black on White by Eyal Gever, 2026, framed 98-inch LED fluid simulation
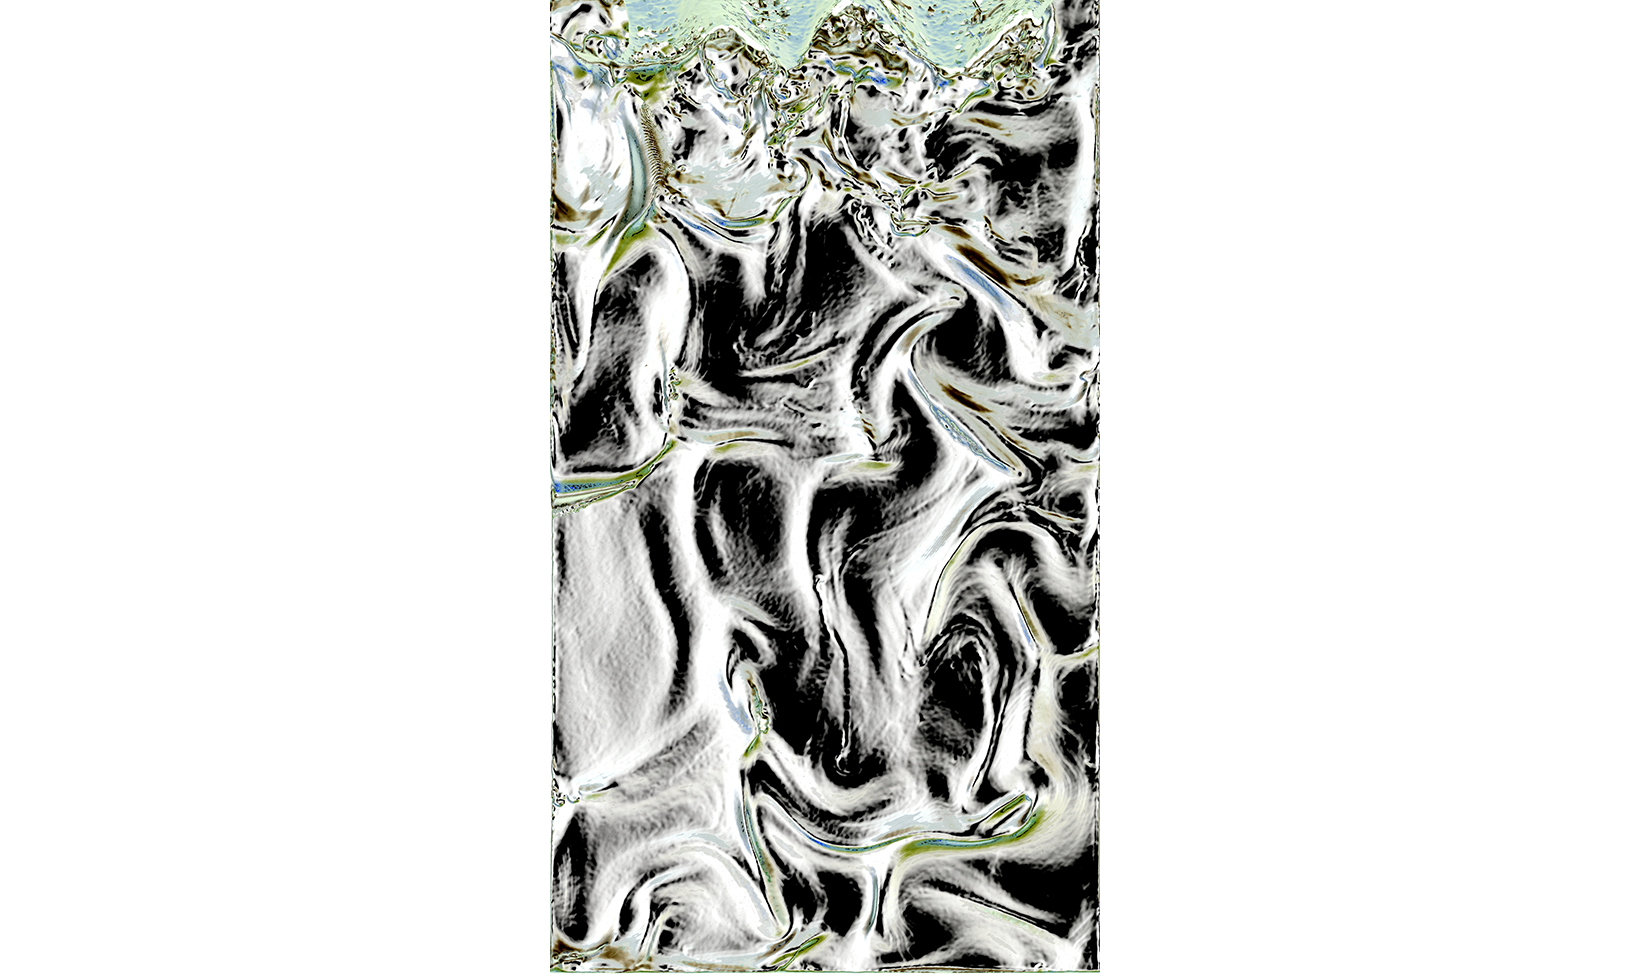
Dripping III Chrome Black on White by Eyal Gever, 2026, framed 98-inch LED fluid simulation
Dripping III Chrome White on Black by Eyal Gever, 2026, framed 98-inch LED fluid simulation